Table of Contents
- Introduction: The Foundation of Foot Health
- The Essential At-Home Pedicure Toolkit
- Preparing Your Feet: The Foundation of a Great Pedicure
- The Step-by-Step Guide to a Perfect At-Home Pedicure
- Beyond the Polish: Finishing Touches for Healthy Nails
- Safety First: Hygiene and Infection Prevention
- Troubleshooting Common Foot and Nail Issues
- Long-Lasting Results: Your Pedicure Aftercare Plan
- Nature’s Touch: Natural Remedies for Foot Care
- Knowing Your Limits: When to See a Professional
- Preserving Your Pedicure: Daily Habits for Healthy Feet
- Quick Questions Answered: Pedicure FAQ
- Resources for Healthy Feet
- Summary and Your At-Home Pedicure Checklist
Introduction: The Foundation of Foot Health
When you think of a pedicure, you might picture vibrant nail polish and a moment of relaxation. While that’s certainly part of the appeal, a proper pedicure is much more than a cosmetic treatment. It’s a fundamental practice of self-care and a vital component of your overall health and wellness routine. Our feet carry us through life, yet they are often the most neglected part of our bodies. Establishing a regular at-home pedicure routine is an empowering way to maintain foot hygiene, prevent common problems, and keep you comfortably on your feet.
Why Foot Care is More Than Just Aesthetics
Consistent foot care helps prevent issues before they start. Regular cleaning, trimming, and moisturizing can ward off fungal infections, painful cracks, and problematic calluses. A pedicure provides the perfect opportunity to inspect your feet for any changes, such as blisters, corns, or discoloration, which can be early indicators of underlying health concerns. Think of your at-home pedicure as a monthly health check-in for your feet.
What a Pedicure Achieves for Overall Foot Health
A well-executed pedicure does wonders for your feet. The process of soaking, exfoliating, and massaging stimulates blood circulation, which can relieve tension and reduce swelling. Properly trimmed and filed nails are less likely to become ingrown, a common and painful condition. By removing dead skin cells, you not only achieve softer skin but also reduce the buildup of bacteria. In essence, a pedicure is a proactive ritual that supports the structural and dermal integrity of your feet.
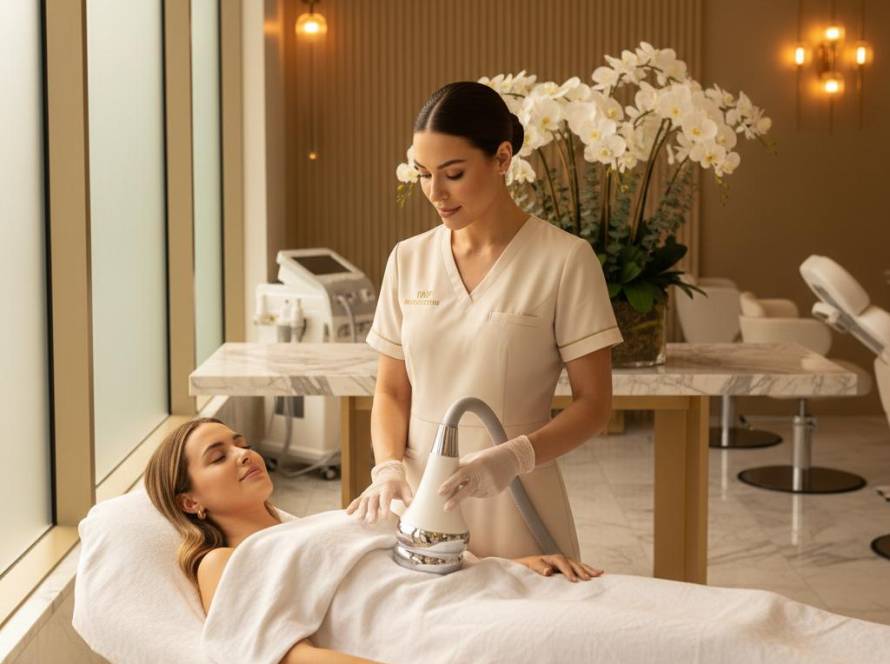
The Essential At-Home Pedicure Toolkit
You don’t need a professional setup to give yourself a fantastic pedicure, but having the right tools is crucial for safety and effectiveness. Investing in high-quality, easy-to-clean implements will make your routine smoother and significantly reduce the risk of injury or infection.
Choosing Safe Tools and Supplies
- Nail Clippers or Nippers: Choose a pair made from stainless steel with a straight edge, which is best for toenails.
- Nail File: A glass or crystal nail file is gentle yet effective and can be easily sanitized. Avoid harsh metal files.
- Cuticle Pusher: Opt for a stainless steel or orangewood stick to gently push back cuticles. Never cut them.
- Pumice Stone or Foot File: For gently sloughing away calluses and dead skin. Look for non-porous, easy-to-clean options.
- Foot Basin: Any clean basin or tub large enough for your feet will do.
- Towel: A clean, soft towel dedicated to your pedicure.
- Moisturizer: A thick, rich foot cream or natural oil like coconut or shea butter.
- Non-Acetone Polish Remover and Cotton Pads: If you wear polish.
- Rubbing Alcohol: For sanitizing your tools before and after each use.
Preparing Your Feet: The Foundation of a Great Pedicure
Proper preparation is the key to a successful and relaxing pedicure. Rushing this step can lead to a less effective treatment and may even cause damage to your nails or skin.
Cleansing and Soaking for Success
Start with clean feet. If you are wearing old polish, remove it completely with a non-acetone remover. Next, prepare your foot soak. Fill your basin with warm (not hot) water. Soaking in overly hot water can strip your skin of its natural oils. A 10-15 minute soak is ideal for softening the skin and nails, making them easier to work with. You can enhance your soak with a handful of Epsom salts to help soothe tired muscles or a few drops of tea tree oil for its natural antiseptic properties.
The Step-by-Step Guide to a Perfect At-Home Pedicure
Follow these steps in order for a safe, effective, and spa-like experience right in your own home. Work on one foot at a time, keeping the other wrapped in a warm towel.
Step 1: Prep and Polish Removal
As mentioned, begin by removing any existing nail polish. This ensures you can fully inspect the health of your nail plate before proceeding with your pedicure.
Step 2: Gentle Cuticle Care
After soaking, your cuticles will be soft and pliable. Use your cuticle pusher or an orangewood stick to gently push back the cuticles from the nail plate. Your cuticles are a natural barrier against bacteria, so it is crucial that you do not cut them. Cutting can lead to inflammation and infection.
Step 3: Trimming and Shaping Your Nails
Using a clean, sharp nail clipper, trim your nails straight across. Avoid rounding the corners, as this is a primary cause of ingrown toenails. The ideal length is just to the tip of your toe. After trimming, use your nail file to gently smooth the edges. File in one direction to prevent splitting or weakening the nail.
Step 4: Exfoliating for Smooth Skin
With your feet still damp, use a pumice stone or foot file on areas with thick, callused skin, such as your heels and the balls of your feet. Use gentle, circular motions. The goal is to remove dead skin, not raw, healthy skin. Over-filing can cause sensitivity and even lead to more aggressive callus formation as the skin tries to protect itself.
Beyond the Polish: Finishing Touches for Healthy Nails
A great pedicure doesn’t have to end with a coat of polish. In fact, giving your nails a break can be incredibly beneficial for their health.
Polish Alternatives and Nail Finishing Tips
Instead of polish, consider buffing your nails. A multi-sided nail buffer can be used to smooth ridges and create a beautiful, natural shine that lasts for days. Finish your pedicure with a generous application of a rich foot cream or a nourishing oil. Massage it into your feet, ankles, and calves to boost circulation and lock in moisture. Pay special attention to your cuticles, giving them an extra drop of oil.
Safety First: Hygiene and Infection Prevention
Maintaining impeccable hygiene during your at-home pedicure is non-negotiable. This is the single most important factor in preventing bacterial and fungal infections.
Best Practices for a Clean Pedicure
- Sanitize Everything: Before and after every single use, clean your tools thoroughly. Wash them with soap and water, then wipe them down with rubbing alcohol and let them air dry completely.
- Never Share Tools: Your pedicure kit should be for your use only. Sharing tools can easily spread infections.
- Work in a Clean Space: Lay down a clean towel to work on and ensure your foot basin is scrubbed clean before you fill it.
- Listen to Your Body: Never perform a pedicure on feet with open cuts, sores, or an active infection. Wait until your skin has fully healed.
Troubleshooting Common Foot and Nail Issues
Even with great care, foot problems can arise. Here’s how to safely approach common issues during your pedicure routine.
How to Handle Ingrown Nails Safely
If you have a slightly ingrown nail without signs of infection (like redness, pus, or severe pain), you can try to gently lift the corner of the nail after a warm soak. However, never attempt to “dig out” an ingrown nail yourself. If it is painful or looks infected, see a podiatrist immediately.
Managing Calluses and Corns
Gentle, regular exfoliation with a pumice stone is the best way to manage calluses. Avoid “shaver” type tools, which can easily remove too much skin and cause injury. For persistent or painful corns and calluses, a podiatrist can provide safe and effective removal.
Recognizing and Addressing Fungal Concerns
Nail fungus often appears as yellow or white discoloration, thickening, or crumbling of the nail. If you suspect a fungal infection, do not apply nail polish, as this can trap moisture and worsen the problem. Consult a dermatologist or podiatrist for a proper diagnosis and treatment plan.
Long-Lasting Results: Your Pedicure Aftercare Plan
The care you give your feet in the days and weeks following your pedicure is just as important as the pedicure itself.
The Importance of Moisturizing and Rest
Moisturize your feet daily, preferably after a shower when your skin is most receptive to hydration. This prevents cracks and keeps skin soft. After a full pedicure, give your feet some time to rest and absorb the moisturizer before putting on socks and shoes.
Weekly Maintenance Tips
In between full pedicure sessions, you can maintain your results with a few simple steps. Lightly file any rough spots once a week and apply a cuticle oil nightly to keep your nail beds healthy and hydrated.
Nature’s Touch: Natural Remedies for Foot Care
You can incorporate simple, natural ingredients into your pedicure routine for added benefits.
Safe and Effective Home Treatments
- Oatmeal Soak: For irritated or itchy skin, add a cup of ground oatmeal to your foot soak for its soothing properties.
- Coconut Oil Moisturizer: An excellent natural moisturizer with antimicrobial properties. Massage into feet and wear cotton socks overnight for an intensive treatment.
- Apple Cider Vinegar Rinse: A diluted rinse (one part vinegar to three parts water) can help balance skin pH and deter athlete’s foot. Do not use on broken skin.
Knowing Your Limits: When to See a Professional
An at-home pedicure is wonderful for maintenance, but some situations require professional medical attention.
When to Consult a Podiatrist or Dermatologist
Schedule an appointment with a specialist if you experience any of the following:
- Signs of a nail or skin infection (pus, red streaks, warmth, fever).
- A painful or deeply ingrown toenail.
- Warts or other unusual growths on your feet.
- Persistent pain in your feet or ankles.
- If you have diabetes, poor circulation, or neuropathy, you should always consult a podiatrist for routine foot care to avoid serious complications.
Preserving Your Pedicure: Daily Habits for Healthy Feet
Your daily choices can either support or sabotage your pedicure results and overall foot health.
The Role of Footwear and Daily Care
Wear shoes that fit properly and provide adequate support. Shoes that are too tight can cause blisters, corns, and ingrown nails. Alternate your shoes daily to allow them to dry out completely, which helps prevent fungal growth. Always dry your feet thoroughly after washing, especially between the toes.
Quick Questions Answered: Pedicure FAQ
Here are answers to a few common questions about at-home pedicures.
How often should I give myself a pedicure?
A full pedicure is recommended every 4 to 6 weeks. You can perform light maintenance, like moisturizing and filing, on a weekly basis.
What is the best way to fix a smudged or chipped nail?
If you wear polish, you can dip a small brush in remover to smooth the smudge, then apply a thin layer of topcoat. For a chip, gently file the edge and apply a touch-up of color followed by a topcoat.
Is it okay to get a pedicure if I have a small cut?
No. It’s best to wait until any open wound, no matter how small, is completely healed. Soaking an open cut can introduce bacteria and lead to infection.
Resources for Healthy Feet
For more in-depth information, explore these trusted sources:
- For a general overview of the pedicure process and benefits.
- For comprehensive guidance on proper nail care from the American Academy of Dermatology.
Looking ahead, expert strategies for foot care in 2026 and beyond will continue to emphasize hygiene, preventative care, and understanding the connection between foot health and overall well-being.
Summary and Your At-Home Pedicure Checklist
A consistent at-home pedicure is a powerful tool for your health. It’s a chance to care for your hard-working feet, prevent common ailments, and enjoy a moment of mindful self-care. By using clean tools, gentle techniques, and focusing on health over aesthetics, you can achieve beautiful, healthy feet that will carry you confidently into the future.
At-Home Pedicure Checklist:
- ☐ Sanitize all tools with rubbing alcohol.
- ☐ Remove old nail polish.
- ☐ Soak feet in warm water for 10-15 minutes.
- ☐ Gently push back cuticles (do not cut).
- ☐ Trim nails straight across.
- ☐ Smooth nail edges with a file.
- ☐ Exfoliate heels and calluses gently with a pumice stone.
- ☐ Rinse and dry feet thoroughly.
- ☐ Moisturize feet and nails generously.
- ☐ Clean and sanitize all tools for next time.